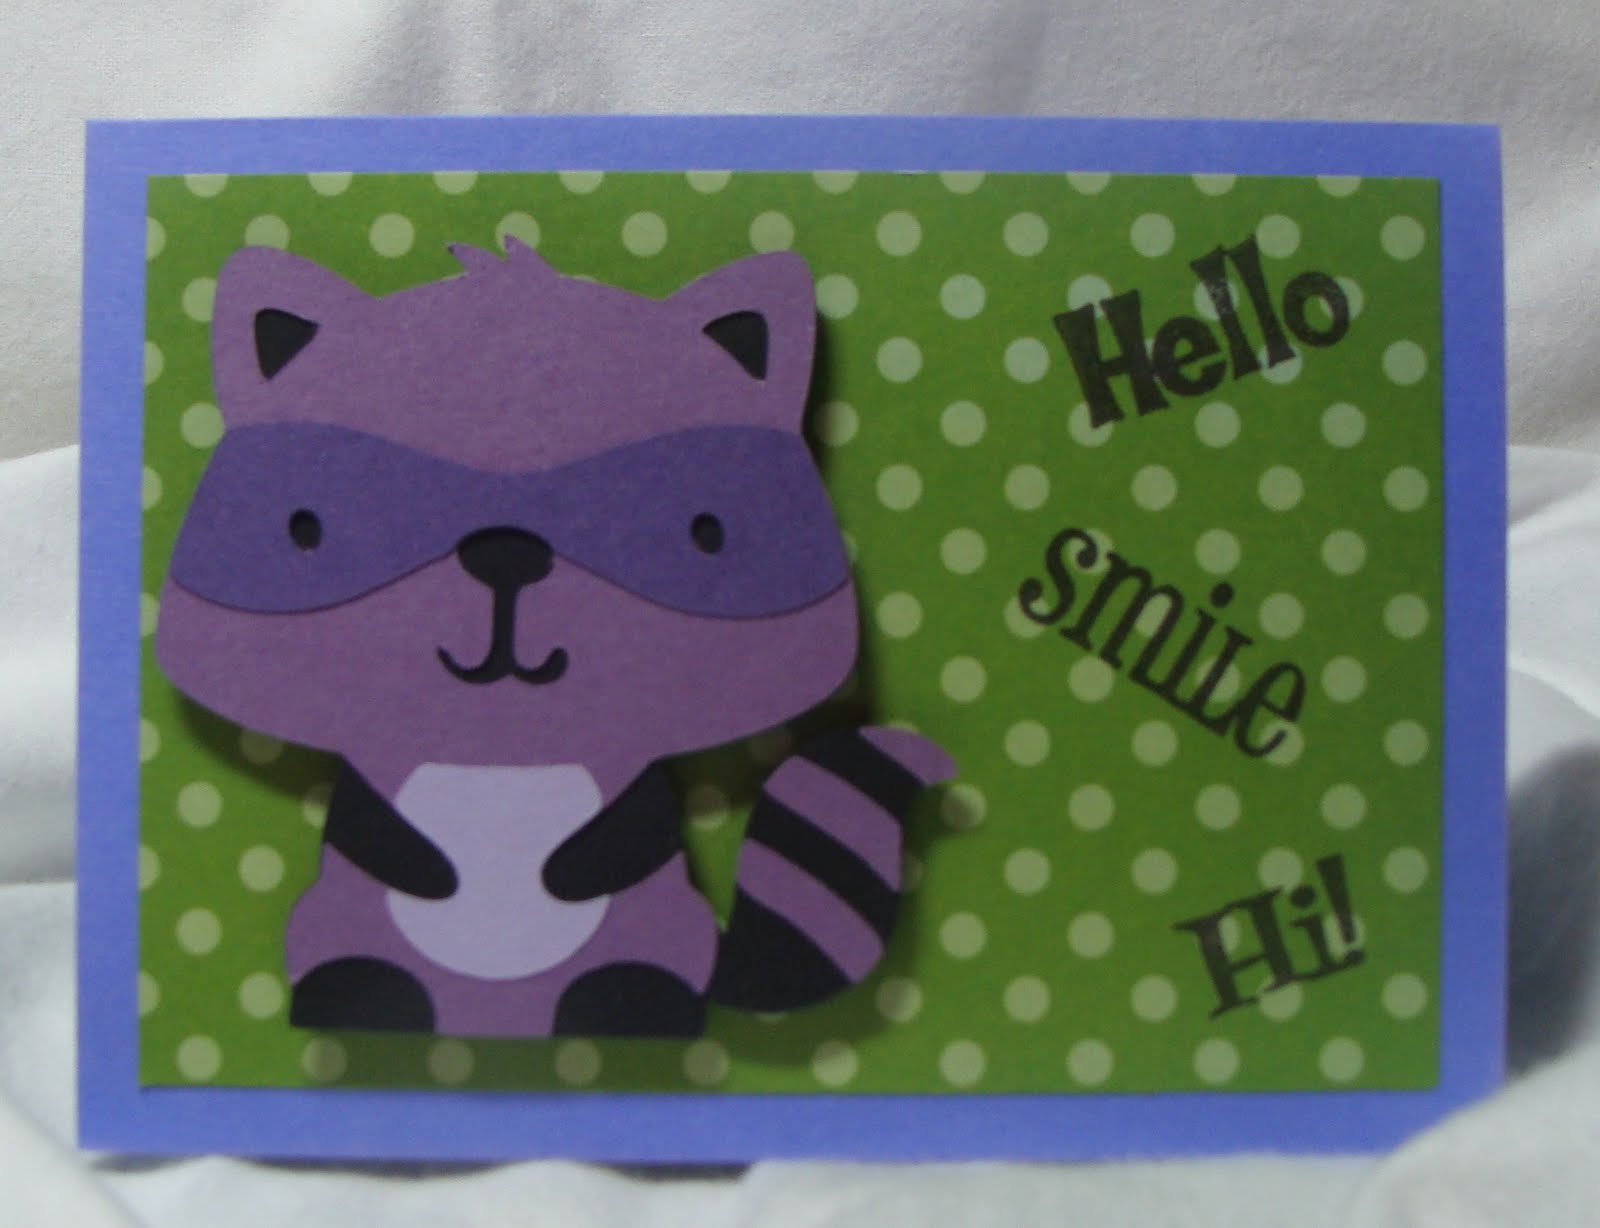
Welcome to My Cricut Craft Room's
September's 100 Cartridge Blog Hop.

If you are joining me from
If you just happened across my blog and would
like to play along in our fun hop, you can go to
My Cricut Craft Room at
There are so many amazing and talented
ladies in this hop. The idea of this Blog hop
is to show you all the ways you can use
100+ Cricut Cartridges.
ladies in this hop. The idea of this Blog hop
is to show you all the ways you can use
100+ Cricut Cartridges.
I had a BLAST making this Mini TP Album.
I have found out one of the tricks to get
the TP rolls flat is to iron them. Yes, I
said iron. For some reason when you iron
them it makes them the flattest I have ever
worked with. In the past I have just used a
bone folder and flattened the edges but, they
still puckered up. With this trick you will
never have to worry about them puckering.
For this Mini TP Album I used 5 different
Cartridges. Accent Essentials, Story Book,
Cindy Loo, Paper Doll Dress Up & Tags,
Bags, Boxes & More.

Front Page:
I cut the flower for the front page starting
at 2 1/2 inches and then went down a 1/2
inch for the next 4 layers. The flower
was cut using Tags, Bags, Boxes & More
with the blackout feature. The flower can be
found on page 107
I added ribbon to the binding make it more
girly. As you look at each page you will
notice that I have added LOTS of BLING
to give it a bit more sparkle. Because what
girl doesn't LOVE SPARKLE!
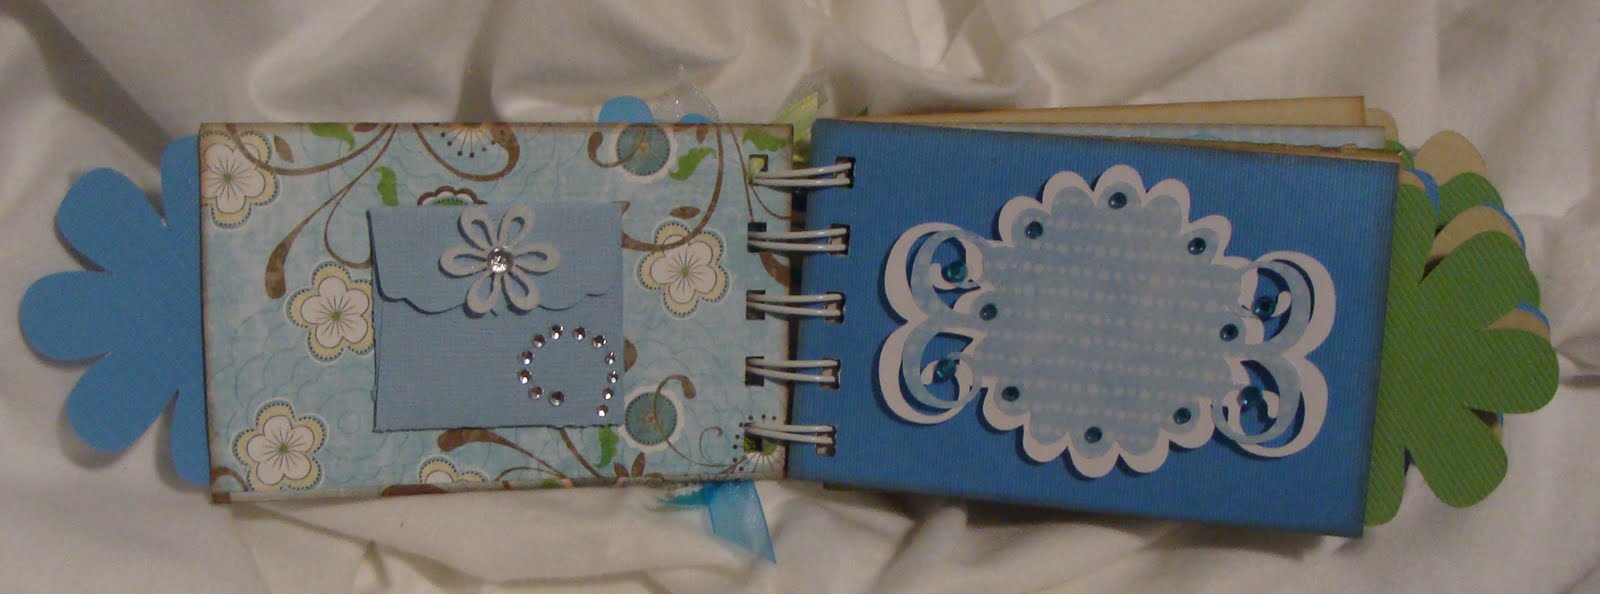
Page 1:
The envelope I used is found on page 76
of Cindy Loo. It was cut at 3 1/2 inches.
There is a matching card inside the envelope.
Page 2:
The flower accent is found on page 36 of
Story Book and was cut at 2 & 2 1/2 inches.

Page 3:
I cut a mat with my paper cutter for this page.
Page 4:
The Floral corners were cut from Accent
Essentials on page 47. They were cut at
1 1/2 inches.

Page 5:
The two felt flowers have ribbon for the stems.
Page 6:
For the oval I used page 50 from Story Book.
They were cut at 2 inches & 1 3/4 inches.
The fancy corners are also on page 50 of
Story Book. Those were cut at 1 1/2 inches.

Page 7:
I cut a mat with my paper cutter for this page.
Page 8:
This frame was found on page 57 of Cindy Loo.
It was cut out at 2 1/2 inches.

Page 9:
Lots of BLING.
Page 10:
I used Paper Doll Dress up for the floral
border on this page. You can find it on
page 78.
Tags:
The tags that are sticking out of the pages
are cut depending on how wide and long
your TP rolls are. The flower that is on the
end of the tags is cut from Tags, Bags, Boxes
& More with the blackout feature. You can
find the flower on page 107.
Now that you have seen mine go try
and make your own. And don't forget
to use your iron.
I hope you enjoyed my project.
For you next stop
Please visit my DT sister
Shelly at:
Shelly at:
Here is the lineup in case you get lost
or need to stop along the way.
Sweet Wishes, Sharon